
Using the Aurora Scheduler
The Aurora Scheduler makes it easy to manage various events for items within Aurora.
This article covers the feature and talks you through how to use it.
Summary
Currently the following events can be managed:
- Publishing content
- Unpublishing content
- Publishing products
- Unpublishing products
- Starting a price promotion
- Ending a price promotion
How to add an event
This is the initial scheduler look for a new item with no current events:

When you choose a new event and click 'Add new event'. The event is added below with a date and time input. Clicking on this input brings up the scheduler's date and time selection interface.
Once you've entered a date and time for the event you can can continue to edit the rest of the item or add other events if needed.
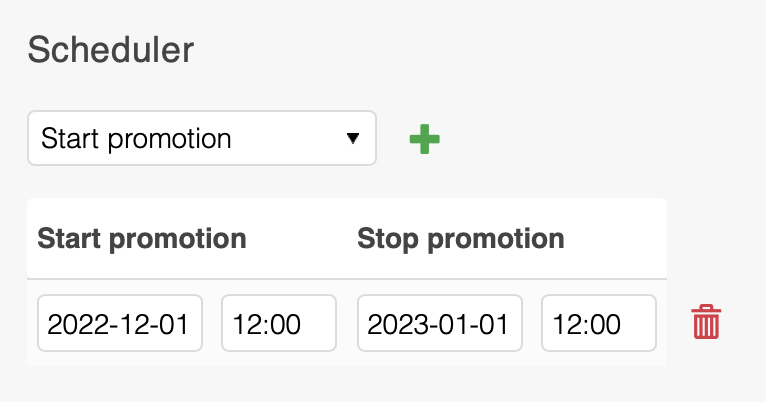
Note: It is important that for a price promotion, you add a start and end date, not just a start date.
Note: Scheduler events are not saved until the whole page has been submitted
Archived events
Once an event has been run, it will show in the scheduler section of that item as an archived event.
Updated 4 months ago