Media Manager
The Media Manager page allows you to add, modify and delete images, documents and videos, which can be used throughout Aurora.
This article describes how to manage existing media items or add new ones, and the steps necessary to include those items in pages.
Introduction
Managing your media is now even easier with the new Media Manager. It provides an intuitive UI, which allows you to manage all store images in one place - uploading new files, deleting old ones, specifying media attributes such as title and description is now a breeze. The Media Manager has been integrated into the WYSIWYG editor to give you easy access to all media available to be inserted, resized and aligned when creating store content pages.
Media manager
Accessing media
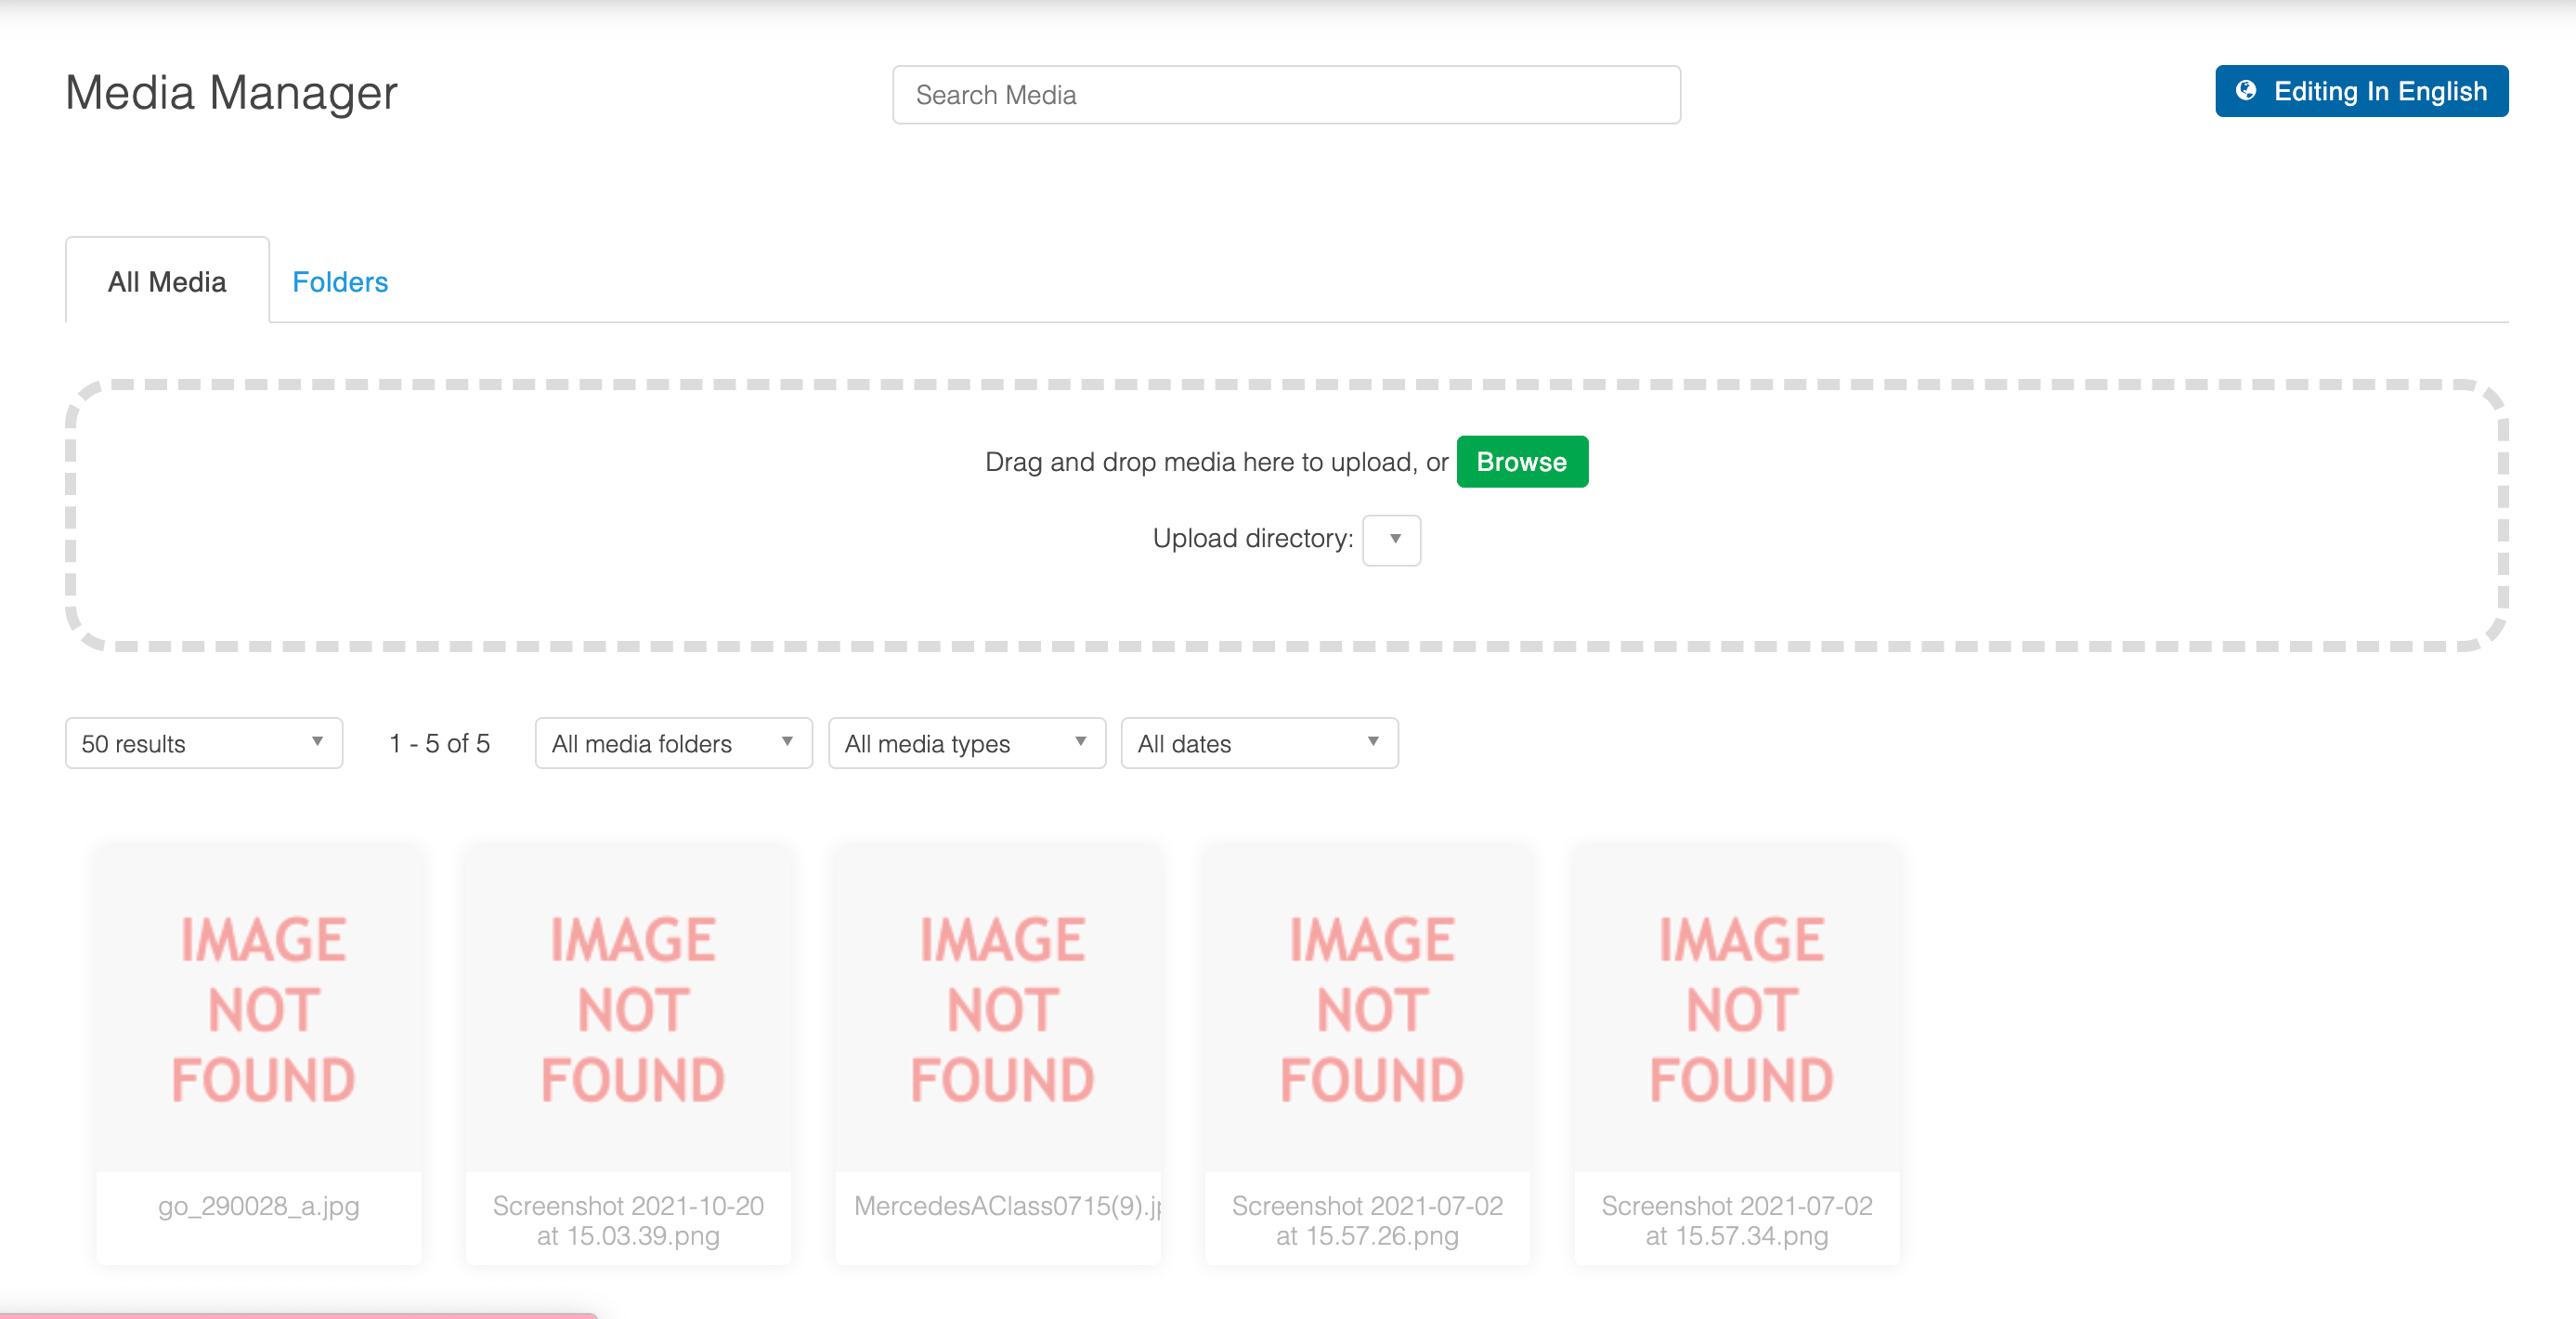
The Media Manager can be accessed via the backend menu by going to Content > Media Manager. The Media Manager page allows you to browse through your existing media and filter it by using keywords, type or upload date.
Modifying media
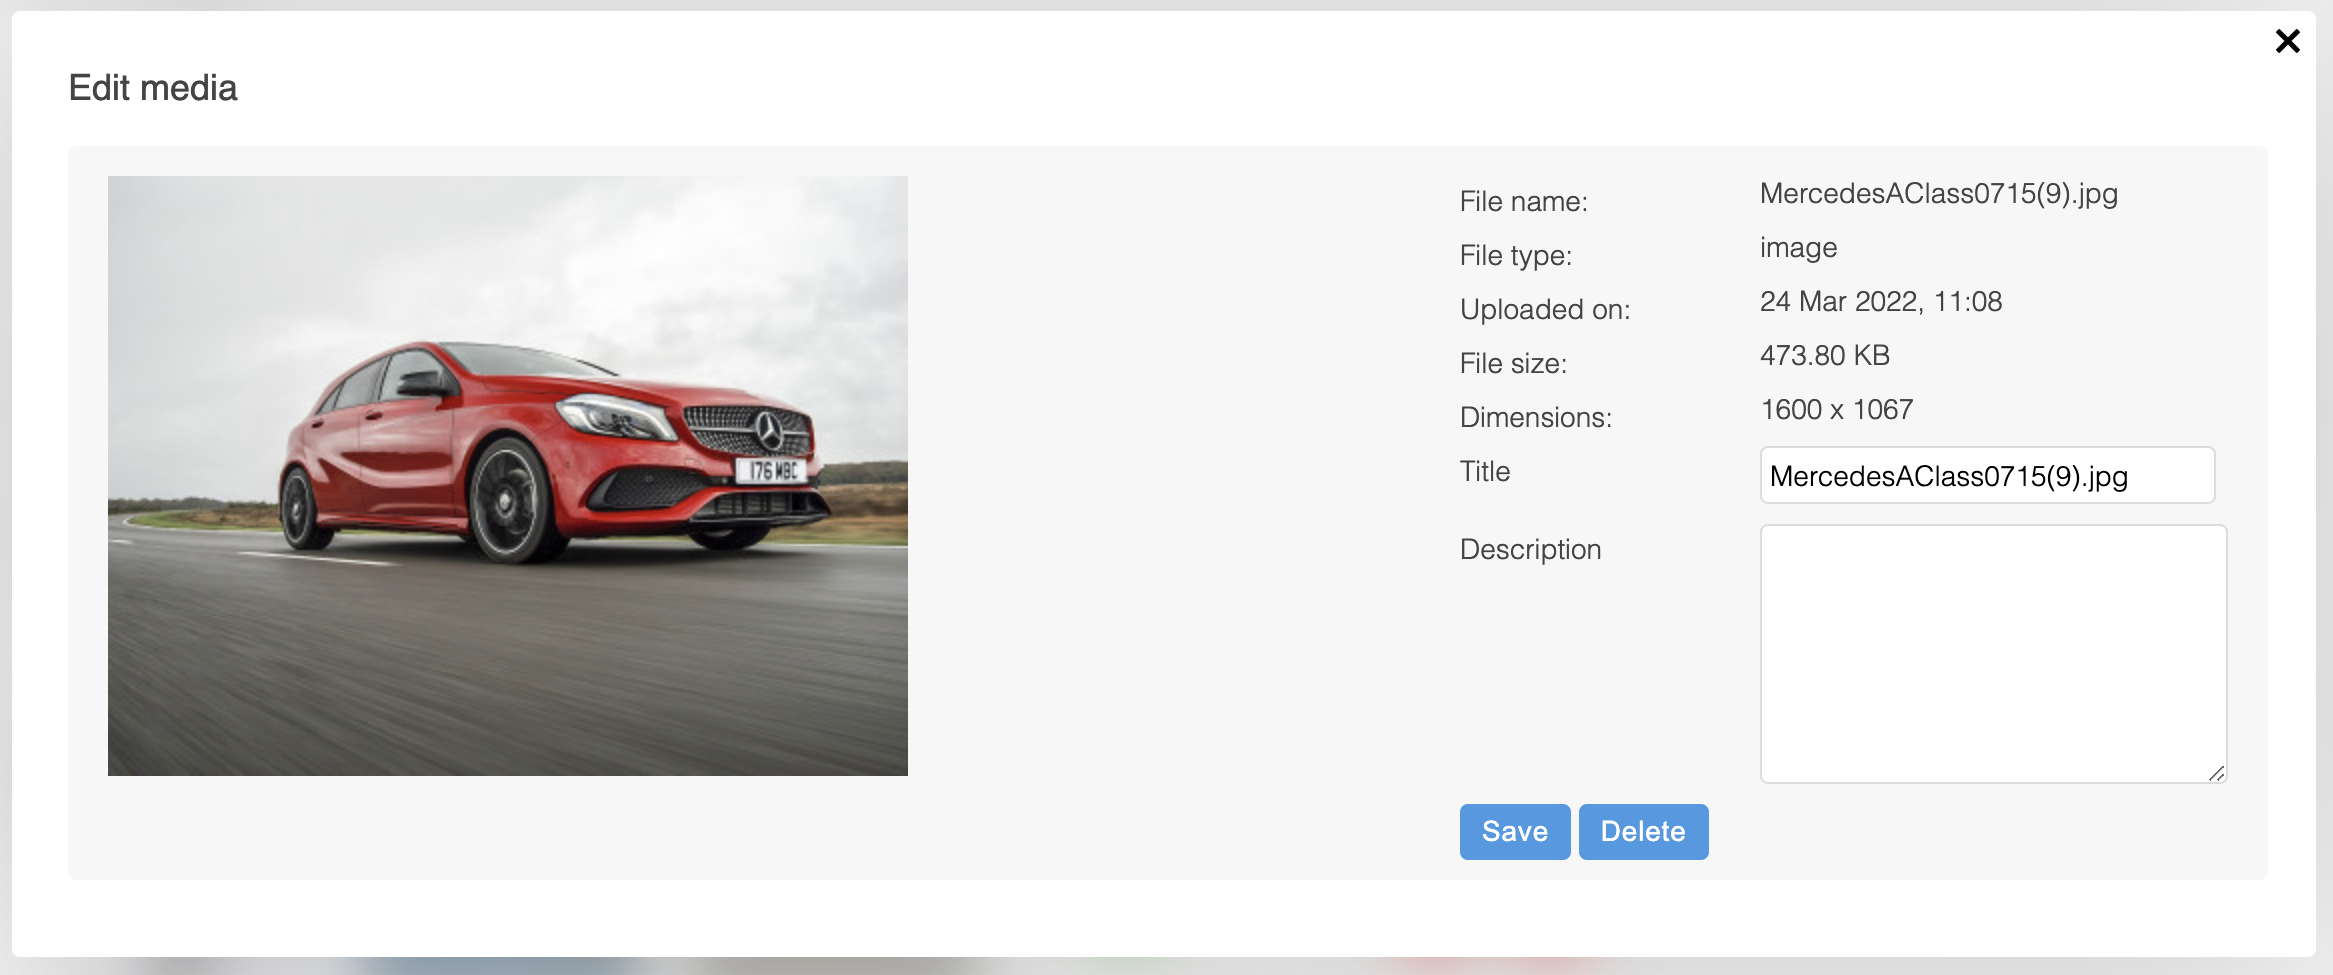
To modify a media item, click on an existing media item and a popup showing details about the selected item. The media item's title and description can be changed by editing the respective fields and clicking the SAVE button. You can delete a media item at any time by clicking the DELETE button.
Adding new media
There are 3 ways to add new media:
-
Go to Content > Media Manager, set the sub-folder you would like to upload your file to, from the following select box of available sub-folders:

Then click the "Browse" button and select a file to upload in the file upload dialog.
- Open the Media Manager in the back-end. Go to your file system, select the files you want to upload and drag and drop them into Media Manager. Please drop them where it says "DROP INTO HERE" to upload them to the specified sub-folder.
- Connect to the server via ftp using your credentials. Navigate to [domain_name]/_images/media folder inside your site's templates directory. Upload new files. The files will be synchronised automatically within few minutes and will be ready to view in Media Manager.
Media Selector
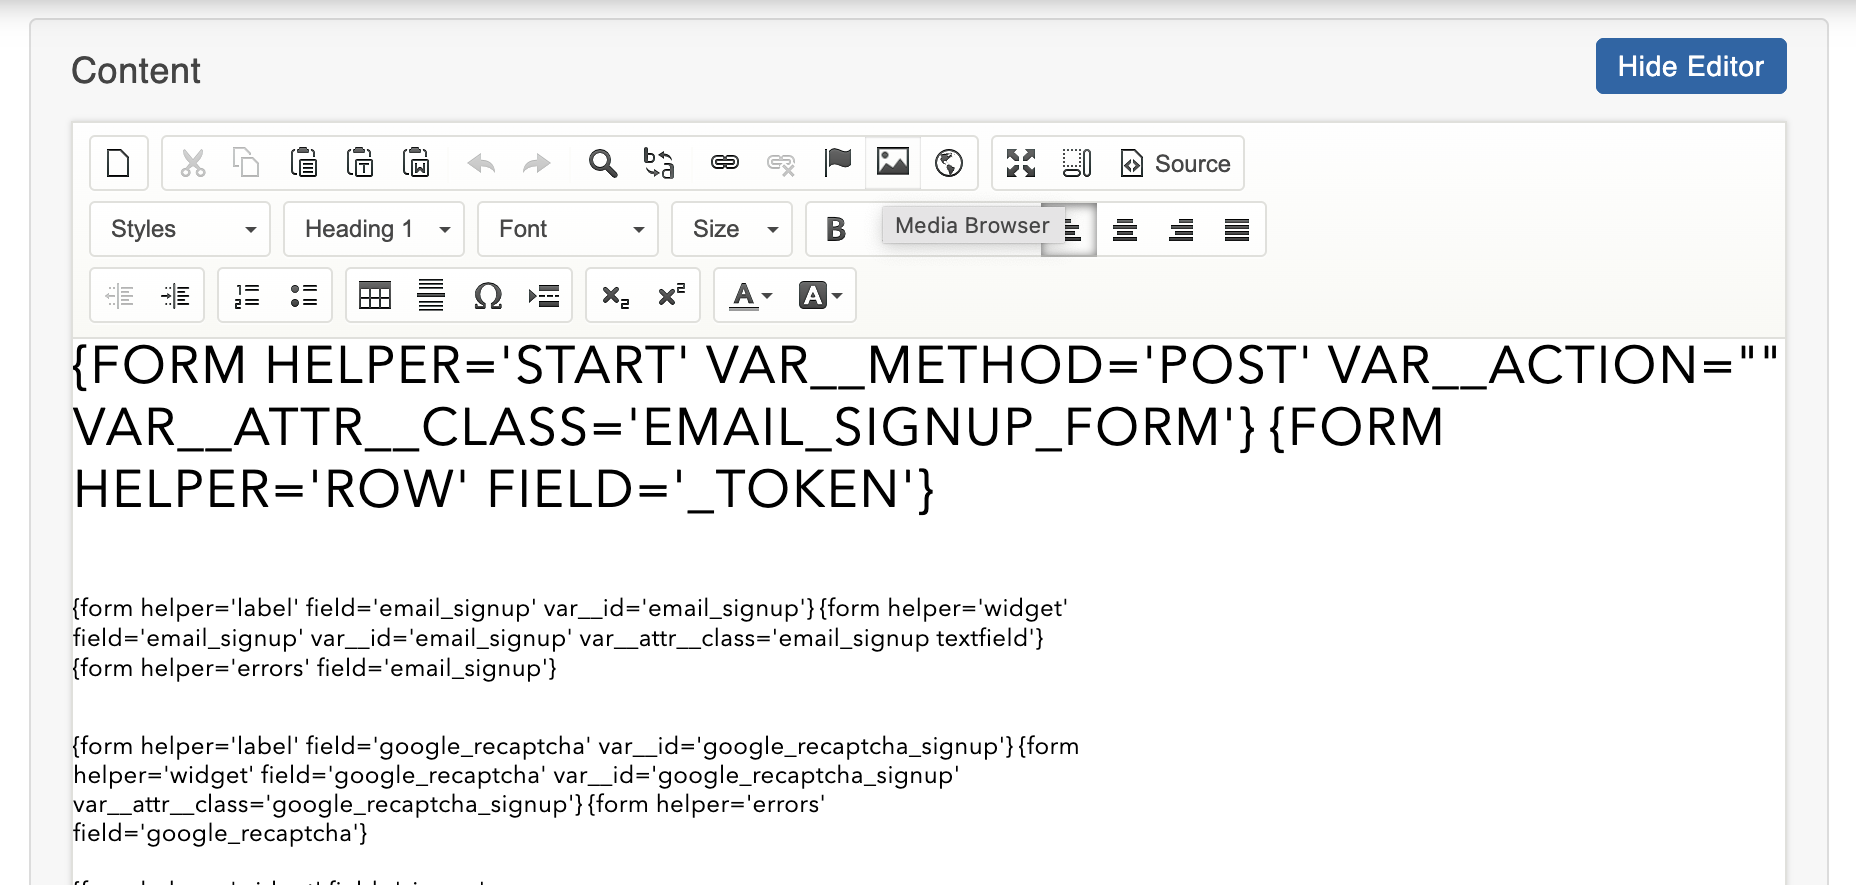
When creating or modifying your content, you can access the Media Selector from your WYSIWYG editor by clicking the  icon.
icon.
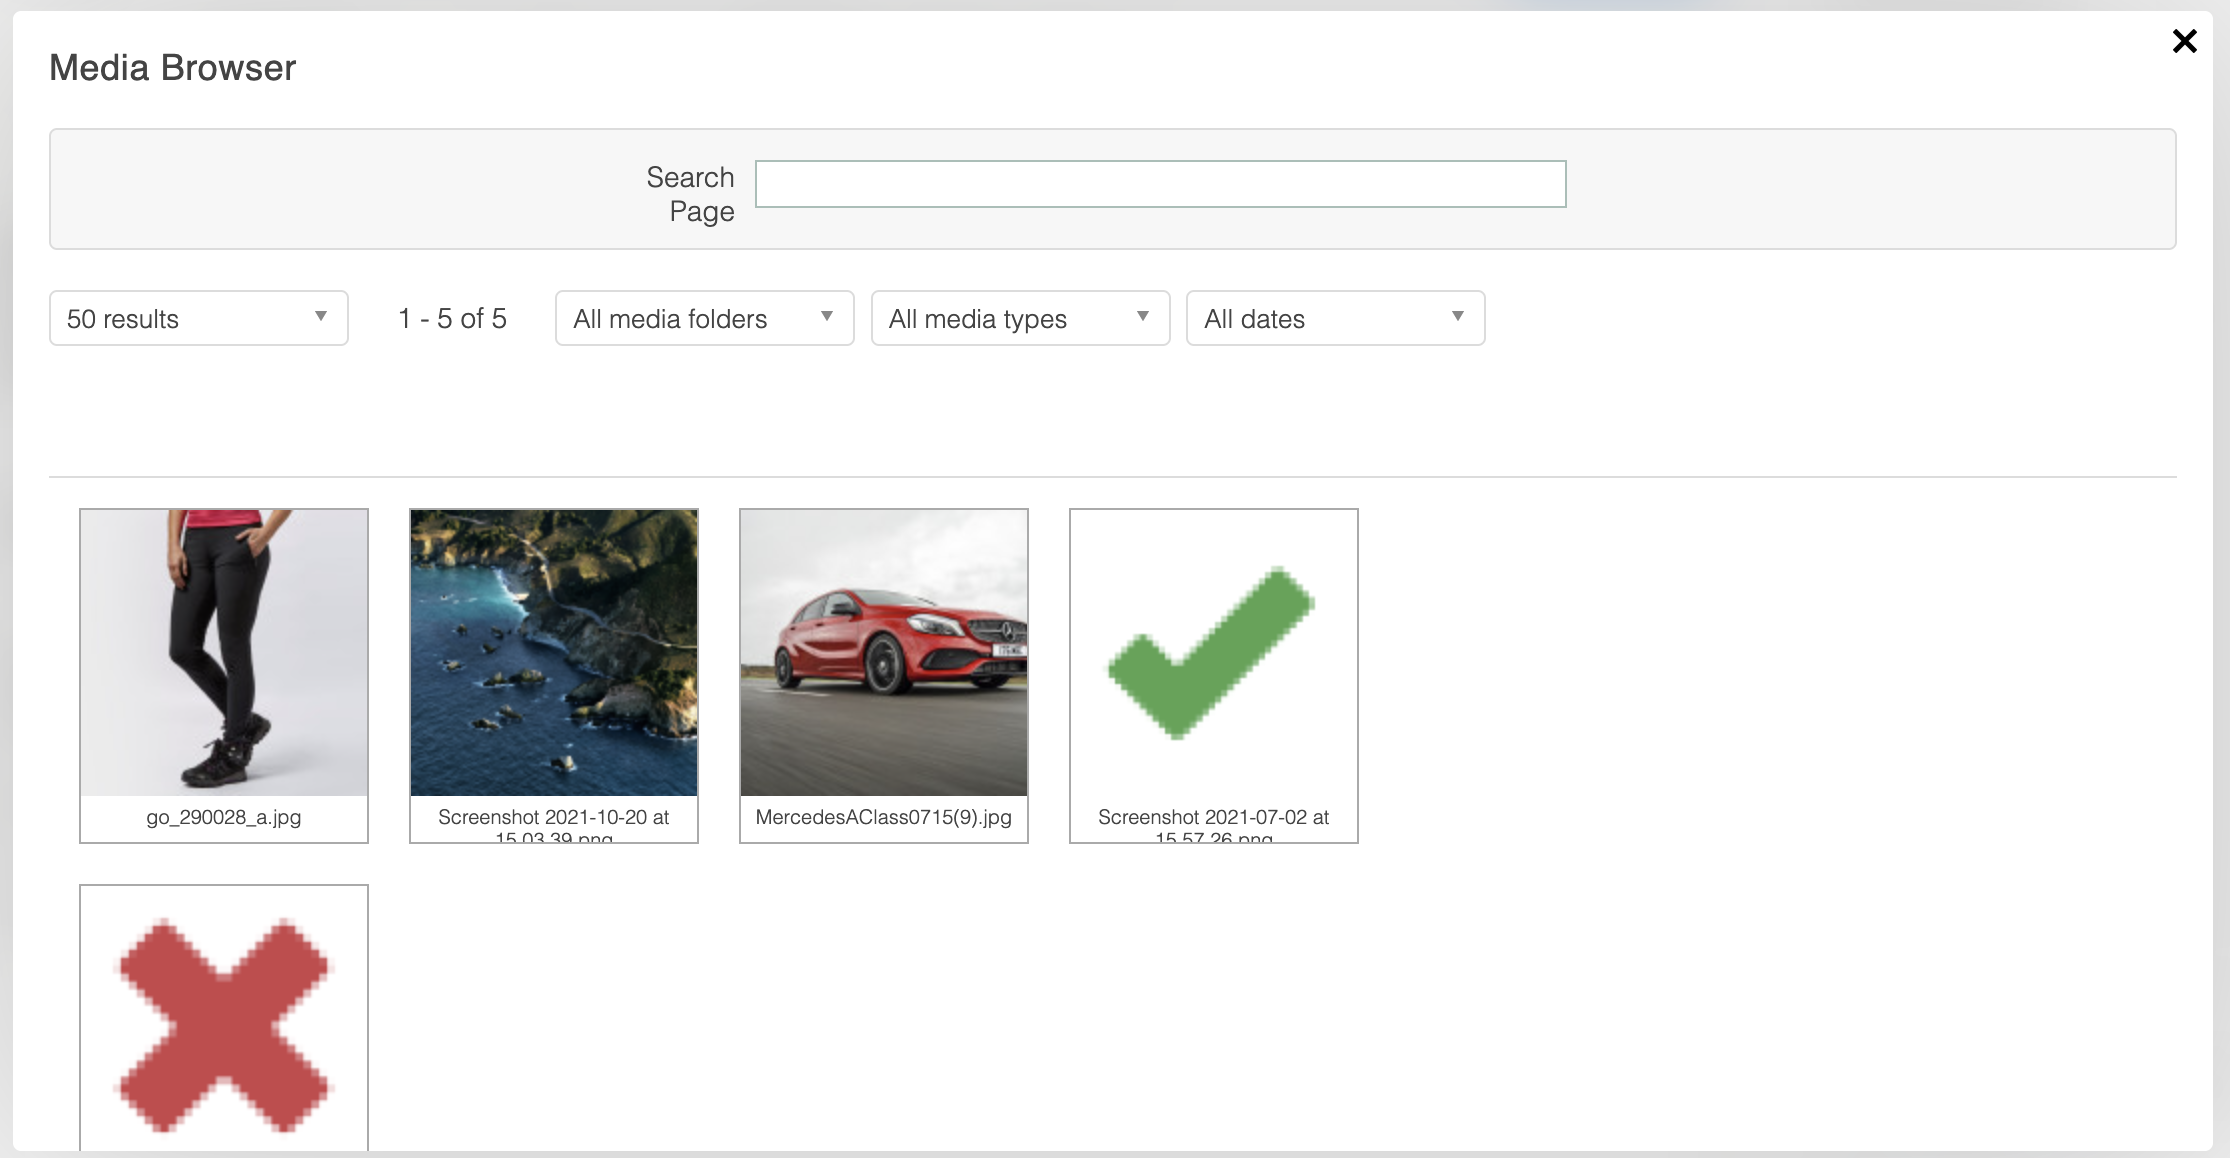
A Media Selector popup will appear:
Selecting Media from Media Selector
To select media click on a media thumbnail in the Media Selector. Details of the selected media will appear on the right hand side:
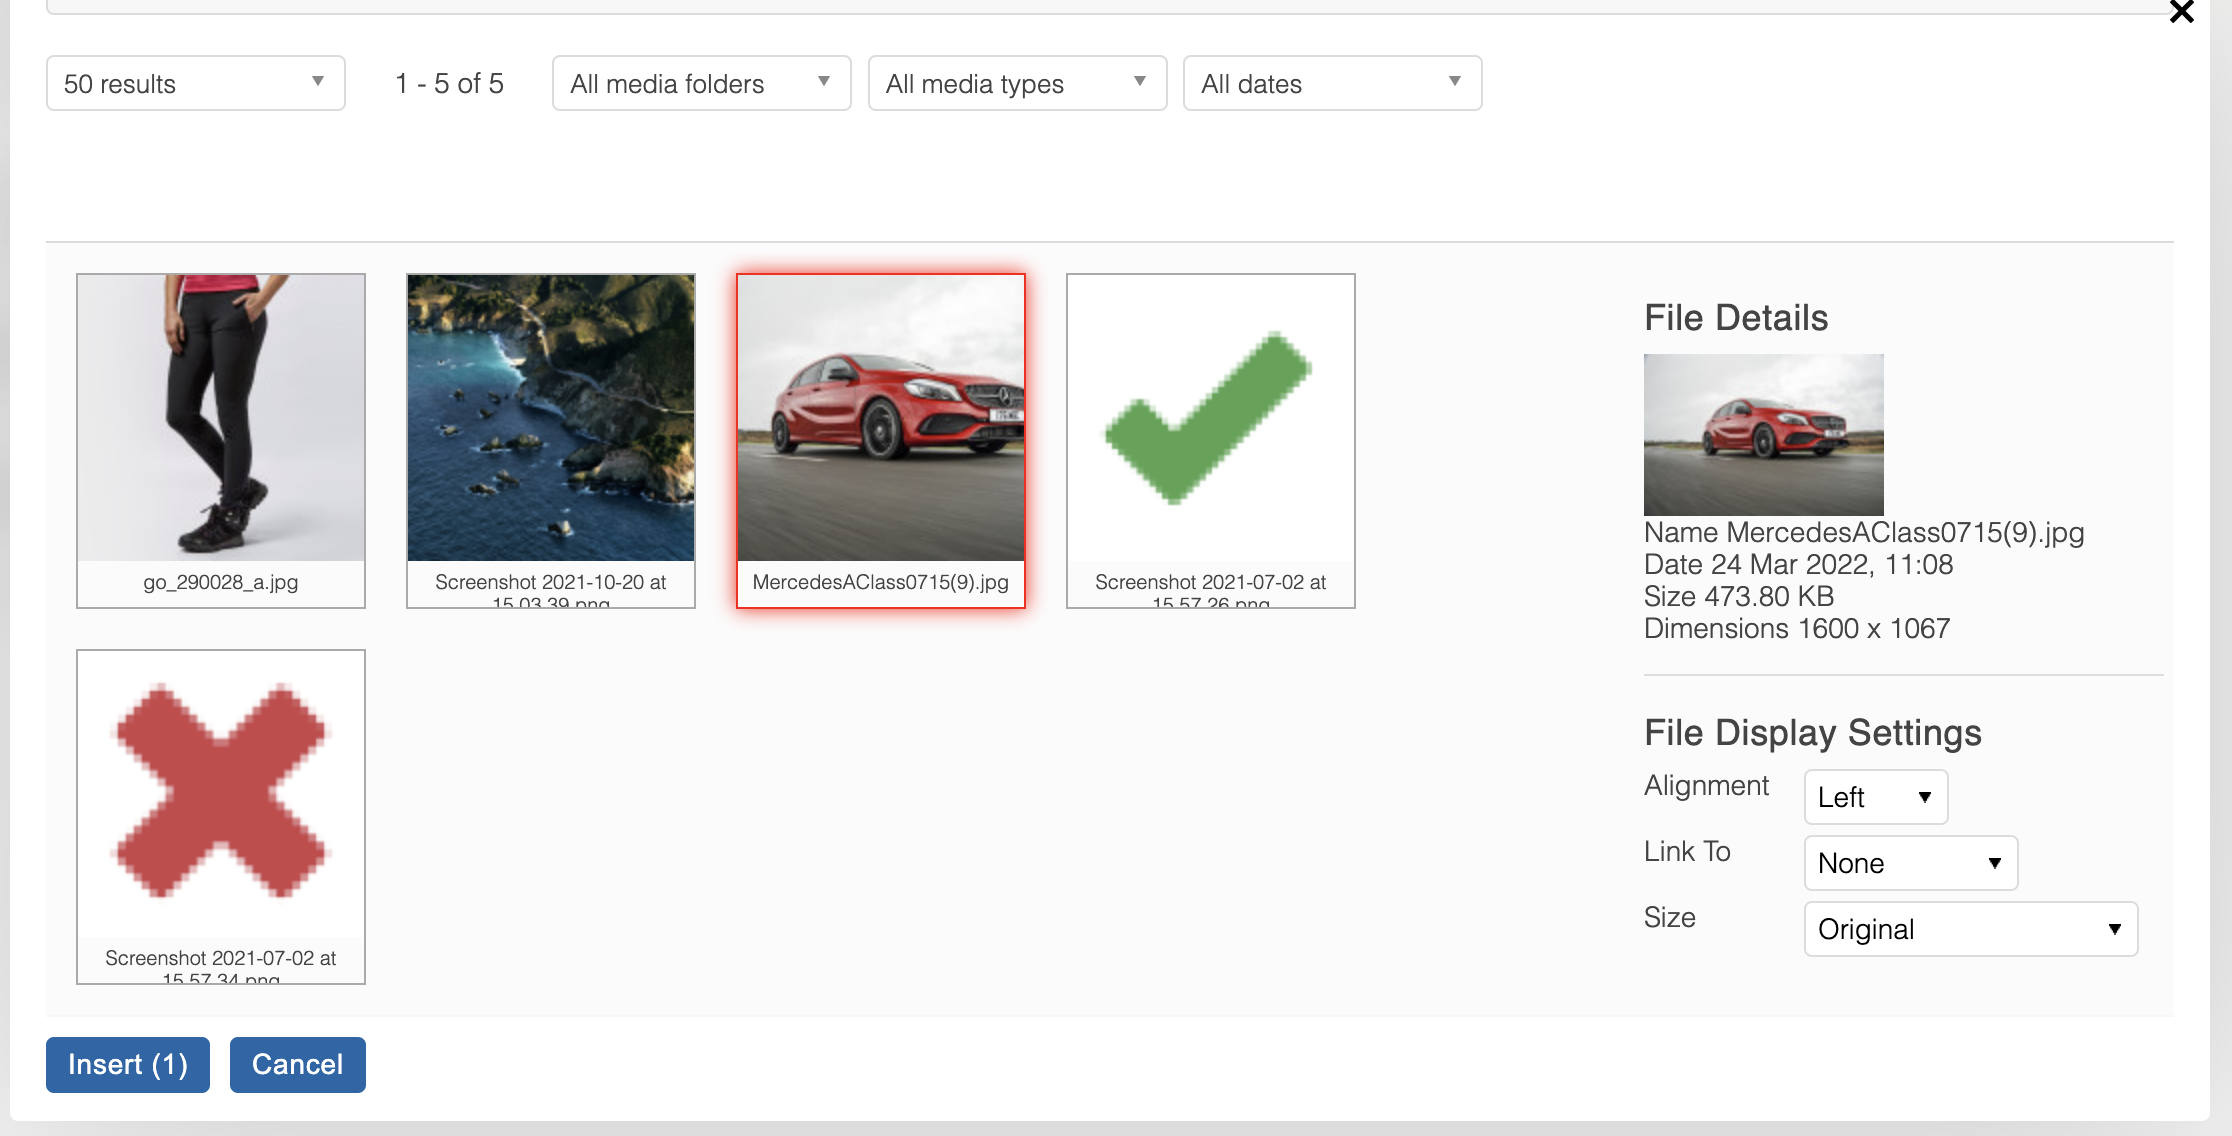
You can select the required alignment, link and size. If Size other than Original is selected, the image will be resized automatically.
We recommend using the Size drop-down to specify a smaller size for images exceeding 1920px by 1080px as large images can negatively impact the user experience by introducing longer load times.
To insert the selected media, click on the Insert button.
You can select as many media items as you want. Selected media will have yellow border around thumbnail, and a number of selected media items will be displayed next to Insert button.
The image will then be inserted into the WYSIWYG using the "content_image_uri" function. Due to this, the image will not appear correctly in the WYSIWYG, however it will render correctly when viewed via the Front-end if the "Enable Smarty?" option is correctly enabled.
Product Media
Media can now be linked to specific products, for use primarily on product detail pages. This can be done via Products > Edit Product > Media > Media Files. For more information, see the Media support article.
Updated 4 months ago
