
Blends
The Blends feature allows you to configure a ranking/order that your products should appear using a wide range of your product's values in any number of weighted combinations. This order can then be applied to your Product Listing/Category pages as desired using the Merchandising Rules system.
This article describes what Blends do and how to configure them.
Introduction
Using Blends, you are able to control the merchandising of your products at an extraordinary level, including values like Stock Levels, Price and even Product Additional Fields where configured.
In this document we will cover how to make use of the Blends User Interface to create and manage rankings for your products, that can then be applied to listing pages using Merchandising Rules.
For more information regarding how to apply your blends to the Front-end, please see the Merchandising Rules support Article.
Managing Blends
When managing Blends, the changes you apply to the blends can take some time to be applied to the Front-end. This may result in products being updated over a period of a few minutes at certain times and so you should be sure to allow time to permit this process to be completed and the Product Listing/Category Page to be updated in full.
Blends can be managed from the Merchandising > Blends section of the Aurora Back-end.
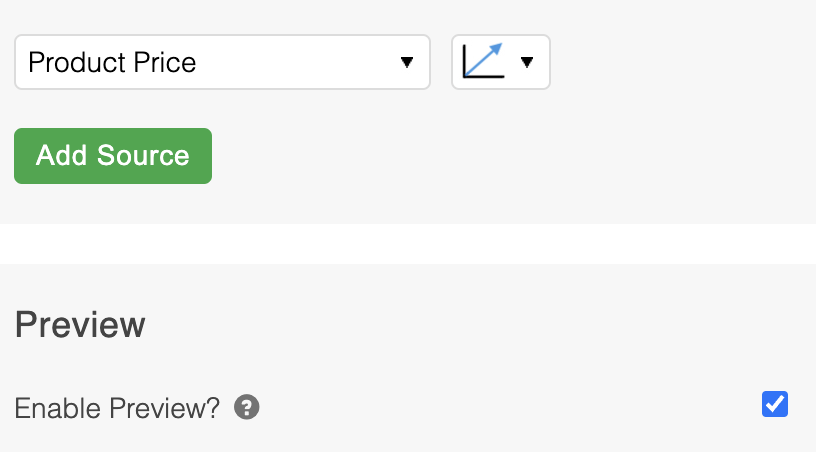
A Blend is like a recipe made of data 'sources' in differing quantities. You can manage these 'sources' using the interface shown in the image below.

Each source allows you to contribute a percentage of its value to a final total for your products. For example, the above example shows that the products will be ordered mostly by the products stock, but also by how popular it is this week and its price. This will mean that as something becomes more popular, or as its stock level changes, its position in the overall listing will change. This is a very powerful way to shape your product's promotion on Product Listing/Category pages. Using the Merchandising Rules system, blends can be tailored per category, or even per search or filter combination.
The Blends User Interface allows you to:
- Select a data source (This includes a few predefined values and all Product Additional fields for your use)
- Select a Normalisation Method (There are three methods available in Aurora at present, as detailed in the Data Normalisation support article)
- Set the direction in which the source should be used, e.g. should the largest or smallest values be considered better? For example Price might be better if it was lower, while stock is better if it is higher.
- Set the 'weight' of the source, i.e. what percentage of the final total should be accounted for by each source
You can set the 'weight' a source contributes to the Blend by way of the sliders or by entering the integer value desired in the box to the far right. When making adjustments, all other unlocked sources are proportionately reduced to ensure that the overall total never exceeds 100%.
The direction that a particular source is sorted by is dictated by its arrow icon - these can be toggled by clicking on them:
| Direction | Description |
|---|---|
| Ascending | When a source is sorted in ascending order, the products with the lowest value are given the highest priority. For example, if a Price source was being sorted in ascending order, products with lower prices would be given a higher ranking than similar products which had a higher price. |
| Descending | When sources are sorted in descending order, products with the highest values are given a higher ranking. For example, if a Stock source was being sorted in descending order, products with the highest quantity in stock would take priority over similar products which had lower stock levels. |
If you wished to modify one source's weight while not affecting one or more other sources, e.g. you wanted the "Sales Last Month" to remain at 18% but wished to reduce the "Product Views This Month", you can 'lock' the source using the lock icon immediately to the left of the weight sliders, as shown below. Aurora will then distribute the excess/deficit among only the other currently 'unlocked' sources.

You can always unlock a source again after making your desired changes as the 'lock' only lasts for the duration of your edit on the page, i.e. the lock status is not permanently saved when saving the Blend.
If you require any additional Data Sources to use in your Blends, these can be added, but you should contact your Agency to have a quote prepared.Please include as much information as you can with your request, including example values to illustrate any maths involved in the production of your desired values.
Previewing Blends on the Front-end
It is possible to preview what your Blend will look like on the Aurora Front-end using the Enable Preview? feature, as shown below.
What this does at first is present you with a list of your:
- Product Categories.
- The products from the Product Category selected from item #1, placed into the order your Blend would have them appear.
Furthermore you can also view this Blend on the Front-end itself using the PREVIEW FRONTEND button, shown in the image below.

To do this you must have first selected a category to apply the preview to by clicking the tick-box next to the category you would like to use. Then, after clicking the PREVIEW FRONTEND button a new window will be opened with your selected Product Category/Listing page in it for you to see the Blend in action.
When you have applied a preview in this way, all other normal product list ordering will be ignored until you clear the preview again. It is very important you remember this as it will be remembered for the duration of your session unless cleared manually and can cause confusion if not removed.
Please see the Reset/Clearing the Front-end Blend preview section of this article for information regarding how to clear the Blend previews.
Reset/Clearing the Front-end Blend preview
When you are finished with your preview, you should clear any applied previews using one of the two following methods:
- Untick the Enable Preview? tick-box on the Blend edit page in the Aurora Back-end.
- Activate the Aurora Admin Toolbar and disable it from the Properties tab on the Front-end page being affected.
Blend Category Preview
It is possible to preview a Blend applied to a particular category before setting it to Live. When Adding or Editing Blends, there is an option labelled Enable Preview. Click this option and you will be able to select a category or subcategory and Preview the list of Products ordered by the current Blends settings.
The Preview button will show a list of Products listed, and the Preview Fronted button will open a new tab, showing that category in your stores frontend sorting products by the current blend settings, for your session only. It will not affect the current list of products on Live and the Customer will see the original sort.
If you want to see the original category sorting of products in the frontend, you should uncheck the option Enable Preview? To make side by side comparisons, you could open a different browser with a new session.
There could be several reasons why the preview for a certain category doesn't exactly match the front end of your store:
- Products with the same value. If you have multiple products that share values, and are sorted by that value, they effectively have the same "product order" (for example several products with the same price, and you order products by price), these products are then ordered by the next order condition in the back end. On your store, this secondary order by may differ to that used in the back end preview.
- Same Style Code. If multiple products share the same Style Code, only one of these will be shown to avoid duplication.
Updated 4 months ago