
Scheduling
The scheduling feature allows you to schedule the publishing of specific versions of a piece of content.
This is particularly useful when you know that you'd like to update content at a specific point in time, for example displaying a time limited promotion, or would like make changes at unsociable hours.
This article covers the creation, editing and deletion of scheduled tasks.
Overview
If you have several Versions of a piece of content, you can schedule these to be published or unpublished, at dates and times specified by you. You can also schedule a task to delete a piece of content.
For example, consider a snippet with three different versions covering Christmas Day, Boxing Day and New Years Day. Using the scheduler, you could schedule each version to automatically appear on the respective day, without having to do this manually. You could also schedule an unpublish task after New Years Day, followed by a deletion task a few days later.
When scheduling content, there are three actions that can be selected:
| Action | Description |
|---|---|
| Unpublish | Unpublishes the piece of content. As this action unpublishes the piece of content as a whole, the version drop down menu will not show when this action is selected. |
| Publish | Publishes the selected version for the respective piece of content. If the piece of content was not previously published, this action will publish it. If an alternative version was previously published, the newly selected version will now become the currently published version. |
| Delete | This action deletes the whole piece of content (as opposed to just deleting a version). The version drop down menu will not show when this action has been selected. |
Viewing Schedules
Scheduling is supported by several features in Aurora, including Snippets. If scheduling is supported for a particular content type, the Scheduler tab will be shown when editing the piece of content:

The options that are available to you are listed below. These are covered in more detail under the Working with Schedules section.
| Item | Description |
|---|---|
| Date | Shows the date that the task is scheduled to occur on. |
| Time | Shows the time that the task is scheduled to take place. |
| Action | Indicates the action that is going to occur at the specified date and time. There are 3 different action types: Publish Unpublish Delete |
| Version | Indicates the version that will be affected by the respective publish action. As the unpublish and delete actions affect the whole piece of content, as opposed to just a single version, the version drop down menu will not show when either the unpublish or delete actions are selected for a task. |
| Author | Shows the user that created, or last edited, a task. |
| Created Date | Indicates the date and time that a particular task was created. If changes have been made since it was created, this will indicate when the task was last modified. |
Save | Used to save any changes made when editing a task. Changes will not take effect until the Save icon is clicked. |
Cancel Changes | Cancels any changes that have been made to a task since the last save. Once the Save icon has been clicked, you will no longer have the option to cancel recent changes. You can however, manually re enter and save these if required. |
Delete | Deletes the respective scheduled task. You will be asked for confirmation before this action is carried out. |
Working with Schedules
For content types that support scheduling, tasks can be added, edited and deleted on the Schedular tab when editing the respective piece of content. One example of this can be found on the Content > Snippets > Edit Snippet > Schedular tab.
Adding Tasks
New tasks can be added using the Schedule a New Task interface, located towards the bottom of the Schedular tab.
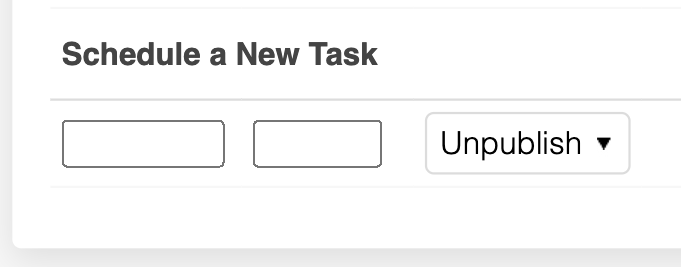
Please note that tasks can only be created for a date and time in the future.
To create a new task:
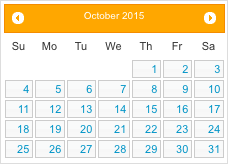
1. Click in the first field to open the date picker. Select the date you would like the task to take place on. You can navigate through the months using the left and right arrows.
2. Click in the second field to open the time picker. Your first selection determines the hour, followed by selecting the number of minutes past the hour on the second selection.
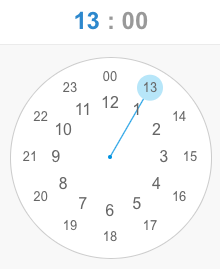
Once a date and time have been selected, these can be changed prior to adding the task, by clicking in either of the date or time fields respectively.
3. Select the action you would like to perform for this scheduled task:
- Unpublish
- Publish
- Delete
The three actions are discussed above in the Overview section above.

4. If you select the publish action, you can now select the version that you would like to publish using the version dropdown menu.
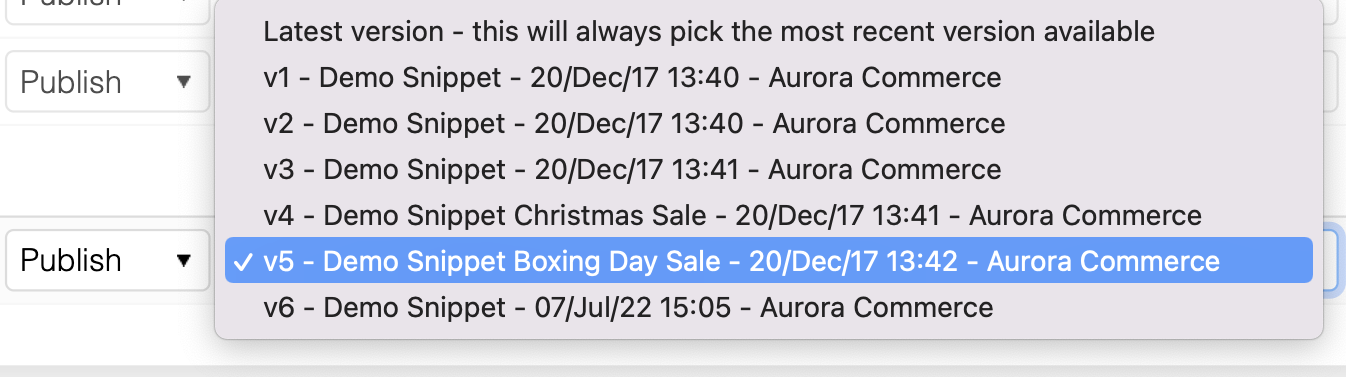
If you've selected either the unpublish or delete actions, the version dropdown menu won't show, as these actions affect the piece of content as a whole, as opposed to a particular version of it.
5. Once you've configured the task as required, use the Add task button to save and schedule the task. If you no longer require the task, you can use the Cancel button to clear it.

Editing Tasks
To edit an existing task, navigate the Schedular tab for the piece of content you would like to amend a task for. Here, you can make changes to any of the parameters for future tasks. Once a change has been made, you can save it using the Save icon. Changes can be disregarded using the Cancel icon.
Deleting Tasks
Tasks can be deleted using the Delete icon.
If you have multiple scheduled tasks for a piece of content, take care when deleting them, to ensure that future tasks are not adversely affected.
Updated 4 months ago