
Image Labels
The Image Labelling system allows you to label or 'tag' your Product Images with a single word of short phrase to help identify it for later use across your Front-end and even in custom exporting processes.
This article described how to use this system and what capabilities and restrictions it has.
Overview
Image Labels can be used to sort your images by a purpose or type. This can then be used on your website to decide which images from a product's selection of images should be used in different circumstances.
For example, you might want to show the 'Front' image of a product by default, and the 'Back' image on mouse-over, on a particular page. Using this system you can let Aurora know which images are the 'Front' and 'Back' so that this can be referenced later when looking for the images for display.
This system is most often used alongside the product_image_uri function, which allows you to pull product images from Aurora for use in your templates based on a range of parameters, including Image Labels.
How to Manage Image Labels
You set Image Labels using the Product Edit section in the Aurora Back-end.
There is currently no bulk system for setting these labels and so they must be managed manually on a per-product basis unless some custom import is put in place to do this for you.
To set a new label, edit the product you wish to configure labels for and on the Product Edit page, open the "Media" tab.
Here you will see any images you have configured for the product in question, as shown in Figure 1.

Figure 1: Images under the Product Edit > Media tab
By clicking the  icon on any of these images, you will be presented with a box containing all relevant settings for said image, as shown in Figure 2.
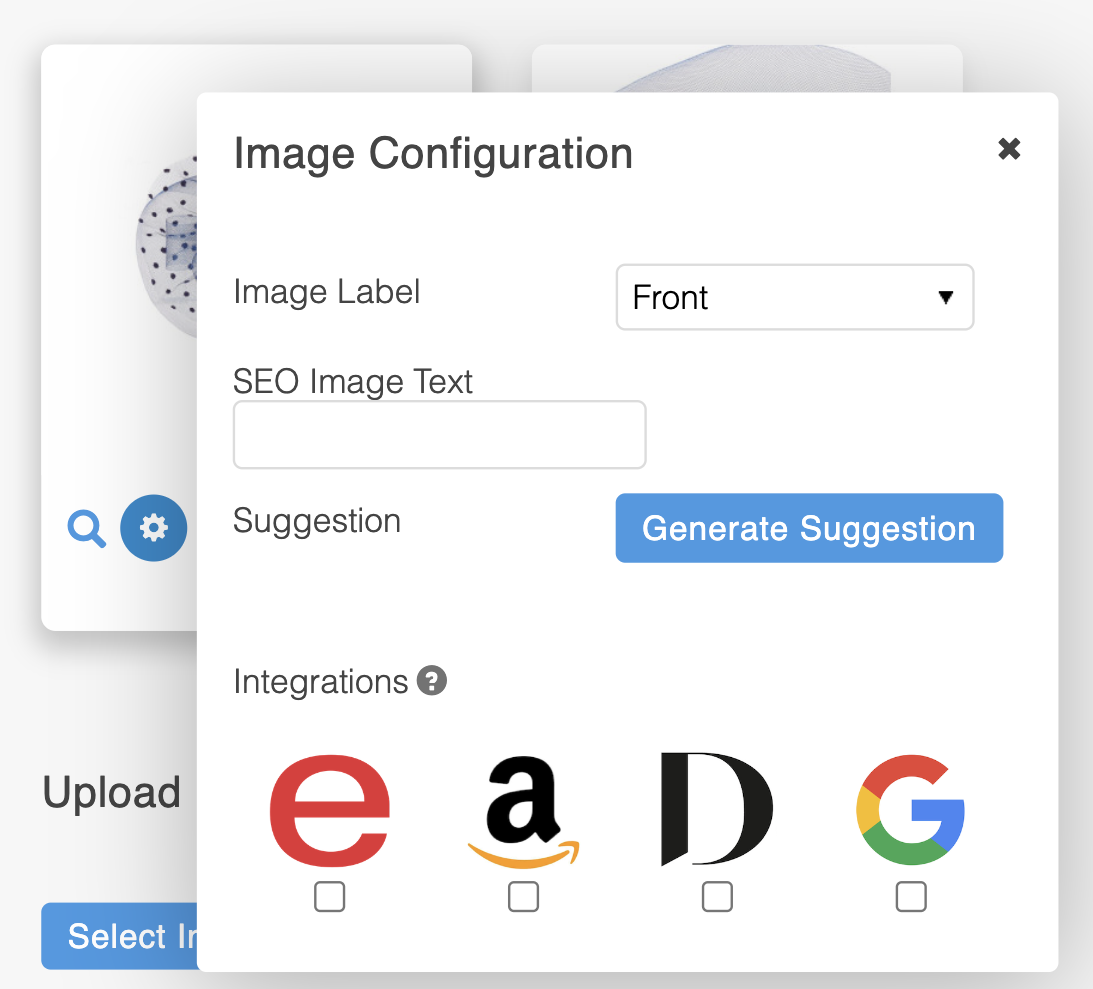
Figure 2: Image settings pop-up box
In this box you will be presented, among other things, a drop-down list of existing Image Labels for you to select should you wish.
If you wish to create a new label, then simply select the "New Label" option and you will be presented with a plain text box to allow you to provide the name for your new label, as shown in Figure 3. Using this box to enter your new label and then once the product is saved using the "Save Changes" button at the bottom left of the page, this new label will be added to the list of labels in addition to being assigned to the image in question.
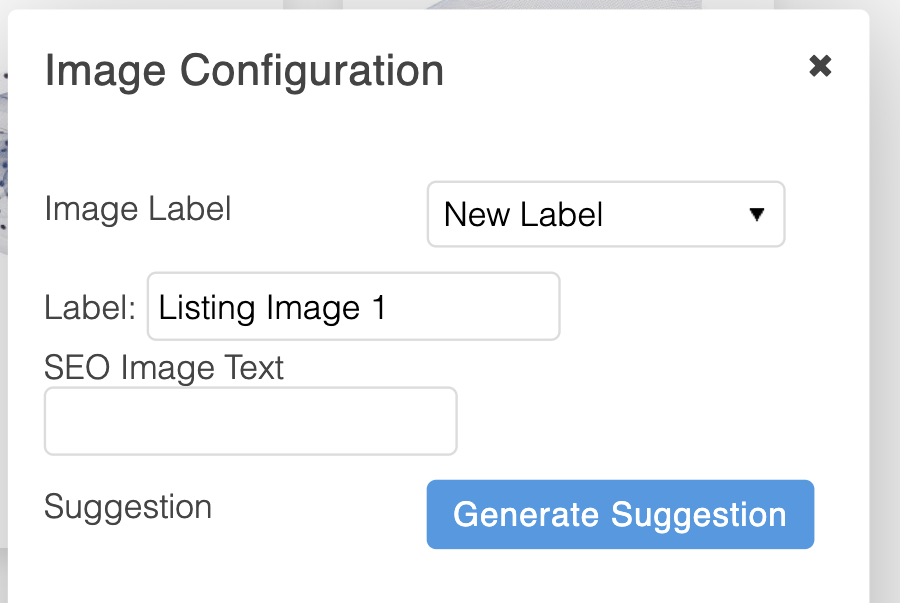
Figure 3: Setting a new image label
Special (Reserved) Labels
For the most part, you are able to set any label you wish in the Image Label section for an image and Aurora will simply create it if it does not already exist, and then list it for re-use from that point forward.
This being said, there are a small selection of Labels that trigger specific behaviours in Aurora, and so these have been detailed below to clarify what these are and how they should/can be used.
Product (Category) Listing Product Images
As described in Product Detail Templates under "Images", there are a few variables available for the selection of the Product Images that should be used for display on the Product Listing pages. These include two variables specifically intended for this use, "$product.listing_image_id" and "$product.listing_alternate_image_id", among others.
These two variables are populated by default with the values held in the "image_id_1" and "image_id_2" variables, unless one or both of the following two Image Labels are set:
- Listing Image X - Used to decide which Images should populate the "listing_image_id" variable.
- Listing Alternate Image X - Used to decide which Images should populate the "listing_alternate_image_id" variable.
In the two examples above, please note that the "X" is a wildcard placeholder and not the actual values you should use. This should be replaced with some Integer value (e.g. 1 or 2 or 3... etc) during deployment.This behaviours is described in full below.
If you are not making use of the Grouping Products by Retailer (Style) Code system, then you will only ever need to set a single value for each listing image type; e.g. you might set "Listing Image 1" on the image you would like to use as the 'main' image and "Listing Alternate Image 1" for the mouse-over effect.
However, if you are using the system, then you can in fact set multiple 'Listing Image Labels' across your products in order to describe which you would like to have appear and when; e.g. If you have 3 products grouped together, you should set a "Listing Image 1" label on the image you would like to be shown first on the product you would like priority given to. You should then set a "Listing Image 2" label on an image for the product you would like to appear in the event that the first product is no longer in stock. Finally, you would set a "Listing Image 3" label on an image from your third and final product to be shown if both the other two are out of stock.
Using the above system with Product Grouping active allows you to ensure your most popular or desirable available products from any one group of products, is presented to the customer at all times.
Updated 4 months ago